
Table of Contents
ToggleDiving into a bathroom remodel without a clear plan is like framing a wall without measuring the studs, you’ll waste time, money, and materials. Digital design tools let homeowners visualize layouts, test finish combinations, and spot problems before the first tile gets pulled. Whether you’re replacing a tub-shower combo or reconfiguring plumbing for a double vanity, working out the details on screen saves headaches later. This guide walks through the best online design platforms, the step-by-step process for accurate digital planning, and the common traps that turn a smart renovation into an expensive do-over.
Key Takeaways
- Design bathroom online before construction to identify layout conflicts, prevent costly changes, and communicate intent clearly to contractors.
- Accurate measurements are essential—verify wall plumb and square in multiple spots, as older homes rarely have perfect 90-degree angles and even small variances can affect fixture installation.
- Use parametric fixtures in design tools to test standard vanity widths (24–60 inches), shower dimensions (minimum 30×30 inches), and code-required clearances (15 inches from toilet center to side walls) before committing to purchases.
- Free design tools suit straightforward remodels like vanity swaps, while paid platforms ($10–$50/month) are worth the cost for complex projects involving wall moves, curbless showers, or custom tile patterns.
- Validate all fixture dimensions against manufacturer cutsheets and confirm product availability before demolition, as generic digital models may not match actual footprints or account for 2026 supply chain lead times.
- Plan ventilation, electrical, and plumbing routes during the design phase—add 10% material overage for tile and finishes to account for cuts, breakage, and future repairs.
Why Design Your Bathroom Online Before Breaking Ground
A bathroom remodel averages between $6,000 and $15,000 for a mid-range update, and most of that cost comes from labor, plumbing reroutes, and tile work. Making changes after demolition starts means tearing out work already completed and paying contractors twice.
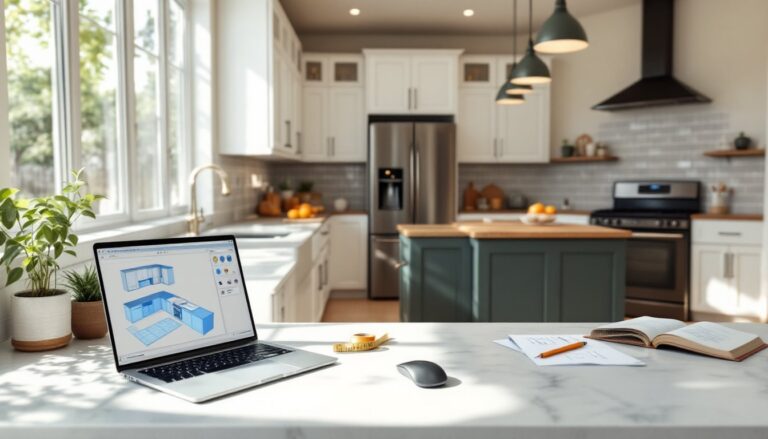
Online design tools let homeowners experiment with fixture placement, vanity dimensions, and tile patterns without committing to a purchase order. They reveal layout conflicts early, like a door that swings into the toilet, or a vanity that blocks access to the electrical panel.
Most importantly, digital renderings help communicate intent to contractors. A 3D model or detailed floor plan eliminates guesswork about where the shower niche goes or how high the wainscoting should run. That clarity reduces change orders and keeps the project on schedule.
If the remodel involves moving plumbing or electrical, note that permits are almost always required. Check with your local building department before relocating a toilet drain or adding a new circuit for heated floors.
Best Online Bathroom Design Tools for Homeowners
Several platforms cater to DIYers who want to model their bathroom in 2D or 3D. The right choice depends on how much detail is needed and whether you’re willing to pay for advanced features.
Planner 5D offers browser-based design with drag-and-drop fixtures. It’s intuitive for beginners and includes a library of branded products from major manufacturers. Free users can create unlimited projects but export options are limited.
RoomSketcher provides accurate floor plans with dimensioned walls and fixtures. It’s particularly useful for tight spaces where every inch counts, like a 5×8 bathroom that needs a 60-inch vanity and a 32-inch shower stall. Paid plans unlock photorealistic 3D views and high-resolution exports.
SketchUp Free is a full CAD tool that runs in a browser. It has a steeper learning curve but gives total control over custom dimensions, trim details, and material textures. Serious DIYers who plan to tackle framing or tile layout themselves benefit from the precision. Homeowners looking for broader interior design trends can use these tools to test current styles before committing to fixtures and finishes.
Lowe’s Virtual Room Designer and Home Depot’s Kitchen and Bath Planner integrate directly with each retailer’s product catalog. If you’re buying materials from these stores, you can place exact SKUs into your layout and generate a shopping list.
Free vs. Paid Design Software Options
Free tools work well for straightforward remodels: swapping a vanity, retiling a tub surround, or replacing a toilet. They typically limit export resolution, watermark renderings, or restrict the number of saved projects.
Paid options (often $10–$50/month or one-time purchase) unlock features like custom dimensions, detailed material libraries, and contractor-ready drawings. They’re worth the cost if you’re managing a complex project, moving walls, installing a curbless shower, or coordinating tile patterns across floor and walls.
For single-room projects, a one-month subscription to a paid platform is usually enough time to finalize the design and export all necessary files.
Step-by-Step Guide to Designing Your Bathroom Online
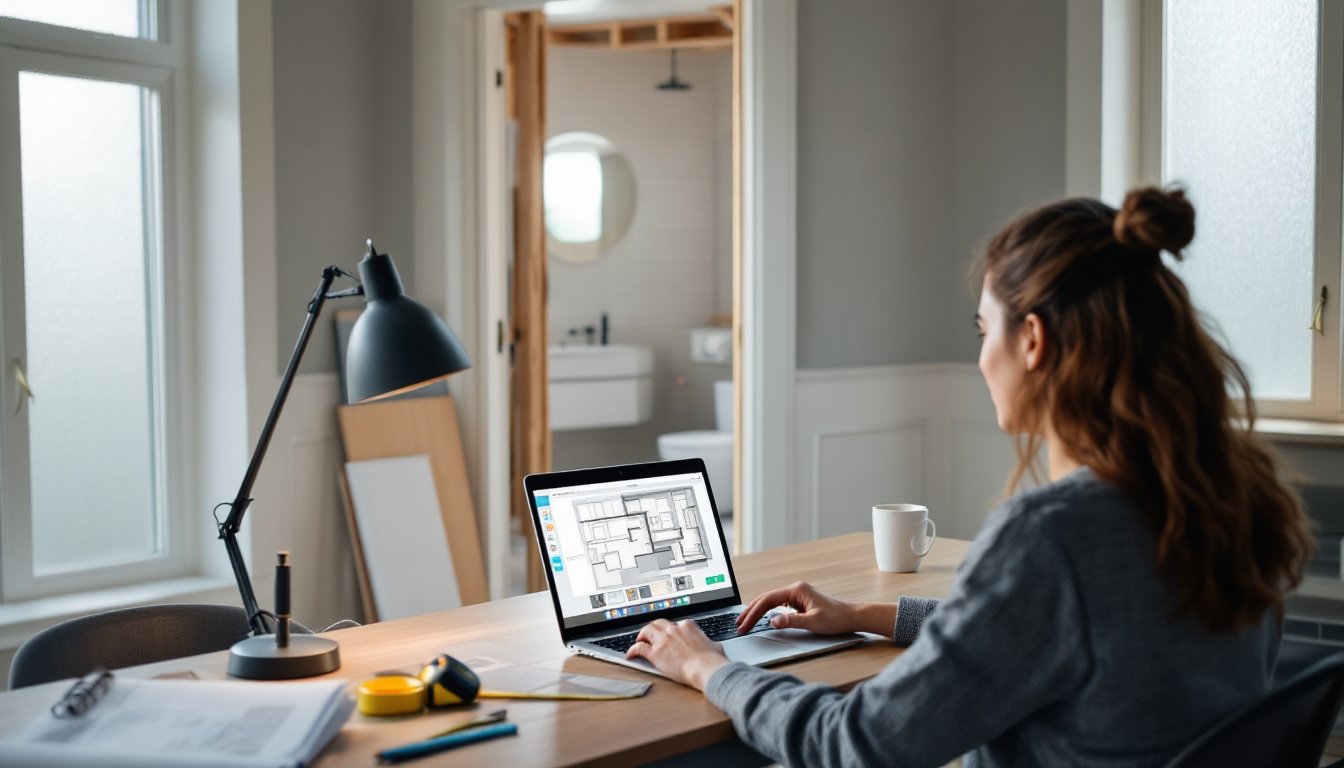
Start by launching the chosen platform and creating a new project. Most tools prompt you to enter room dimensions first, which establishes the canvas for all fixture placement.
Measuring Your Space and Setting Layout Constraints
Accuracy matters. Use a 25-foot tape measure and record wall lengths, ceiling height, door width, and window placement. Note the location of existing plumbing, toilet flange, drain lines, and supply valves, and electrical boxes.
Measure from corner to corner, not just wall to wall. Older homes rarely have perfect 90-degree angles, and a 2-inch variance can throw off vanity installation.
Input these dimensions into the design tool. Most platforms let you define wall thickness (typically 4.5 inches for standard 2×4 framing with drywall) and mark structural elements like load-bearing walls or joists. If you’re unsure whether a wall is load-bearing, consult a contractor before planning removal.
Set constraints based on code requirements. Toilets need at least 15 inches of clearance from the center to any side wall, and 30 inches of clear space in front. Showers require a minimum of 30×30 inches of interior space, though 36×36 inches is more comfortable. Vanities should allow 21 inches of standing space in front.
Mark the door swing and ensure it doesn’t conflict with fixtures or cabinetry. A door that hits the vanity or blocks the toilet is a common oversight in tight layouts.
Choosing Fixtures, Finishes, and Color Schemes Digitally
Once the footprint is locked, start placing fixtures. Most tools include parametric objects, toilets, vanities, tubs, and showers, that snap to walls and resize based on standard dimensions.
For vanities, match the cabinet width to available product sizes: 24, 30, 36, 48, or 60 inches are common. If you’re installing a wall-hung vanity, note the height (typically 32–36 inches to the countertop) and ensure blocking is added between studs during framing.
Select the shower type: alcove, corner, or walk-in. Alcove showers (three walls, one open side) are the easiest retrofit. Walk-in showers with a frameless glass enclosure require precise curb or curbless waterproofing and often benefit from professional installation. Exploring current interior design trends tools can help identify modern fixture styles and finishes that align with 2026 preferences.
Apply finishes in the software. Most platforms let you assign colors, tile patterns, and materials to walls, floors, and fixtures. Test combinations virtually, white subway tile with gray grout reads differently than white-on-white, and it’s easier to change on screen than after installation.
Use manufacturer cutsheets to confirm actual dimensions. A “60-inch” vanity might have a 59.5-inch cabinet width, and knowing this prevents last-minute trim adjustments. Platforms like Houzz and Remodelista offer thousands of real-world examples that can inform fixture selection and finish pairings.
Common Mistakes to Avoid When Designing Online
The biggest error is trusting wall measurements without verifying plumb and square. Walls bow, floors slope, and drywall adds thickness. Always measure in multiple spots and use a level to check for irregularities.
Another common mistake: forgetting about door clearance. A 32-inch entry door needs about 34 inches of rough opening width. If the design shows a tight fit, it won’t work in reality.
Don’t ignore ventilation. Most codes require either a window or an exhaust fan rated for the room’s cubic footage. A 50 CFM fan works for bathrooms up to 50 square feet: larger spaces need more capacity. Plan for ducting and electrical during the design phase.
Skipping the material take-off leads to under-ordering tile, grout, or backer board. Online tools can generate lists, but always add 10% overage for cuts, breakage, and future repairs.
Finally, avoid designing around non-standard fixture dimensions without confirming availability. If the layout depends on a 22-inch-deep vanity, verify it’s in stock before demolition starts. Supply chain delays in 2026 still affect custom and imported products, so plan lead times accordingly.
Be cautious when using generic models from design libraries. They may not reflect the exact footprint of the product you intend to purchase. Cross-reference with manufacturer specs and, when possible, import actual CAD files from the vendor. Design inspiration sites like Homify can spark ideas but always validate dimensions and installation requirements before finalizing your digital layout.