Table of Contents
ToggleRedoing a kitchen isn’t cheap, and mistakes on paper are a lot easier to fix than mistakes made with a circular saw and a pile of cabinets. Online kitchen design tools let homeowners visualize layouts, experiment with cabinet configurations, and catch problems before the first stud gets marked. Whether you’re planning a full gut job or just swapping countertops and hardware, starting with a digital plan saves time, money, and the kind of regret that comes from realizing your fridge door swings into your dishwasher door. Here’s how to use free online tools to design a kitchen that works.
Key Takeaways
- Design your kitchen online using free tools like IKEA Kitchen Planner, RoomSketcher, or Planner 5D to visualize layouts and catch design problems before construction begins.
- Accurate measurements are essential—record room dimensions, wall features, ceiling height, plumbing, electrical locations, and obstructions to ensure your design translates to reality.
- Apply the work triangle principle by positioning your sink, stove, and fridge so the total distance is between 13 and 26 feet, creating an efficient workflow.
- Plan for proper clearances: 42–48 inches around islands, 15–18 inches between countertops and wall cabinets, and adequate space for appliance door swings and landing zones.
- Account for building code requirements, material lead times, and often-overlooked details like filler strips, appliance depth discrepancies, and ventilation needs before finalizing your kitchen design.
- Online design tools let you test multiple layouts and get accurate contractor quotes in hours instead of weeks, saving time and money on your renovation.
Why Use Online Kitchen Design Tools?
Most kitchens fail because of layout, not aesthetics. A beautiful backsplash doesn’t fix a work triangle that makes you walk fifteen extra steps every time you cook. Online design software forces you to think through dimensions, clearances, and workflow before you commit to anything permanent.
These tools also let you test combinations quickly. Want to see if that island fits with 42 inches of clearance on both sides, or if your corner cabinet leaves enough room for the oven door? You can try ten layouts in an hour instead of sketching on graph paper or hiring a designer for an initial consultation that costs $200–$500.
Most free platforms include product catalogs, so you’re working with real cabinet dimensions and appliance footprints, not guesses. That means fewer surprises when the contractor shows up or when you’re installing cabinets yourself. And if you do hire help, handing over a detailed plan with measurements and a parts list makes the job faster and cheaper.
Finally, digital plans make it easier to get accurate quotes. Contractors and cabinet suppliers can give you real numbers when they see exact specs, which beats the vague ballpark estimates you’d get from a napkin sketch.
Best Free Online Kitchen Design Software
Not all design tools are created equal. Some are marketing funnels disguised as planners: others are legitimately useful even if you’re not buying from them.
IKEA Kitchen Planner is the most practical option if you’re using IKEA cabinets or just want a simple drag-and-drop tool. It’s browser-based, uses actual IKEA product dimensions, and spits out a shopping list with SKUs. The downside? It’s built for IKEA’s cabinet system, so if you’re going custom or using another brand, measurements won’t translate perfectly.
RoomSketcher offers more flexibility. You can design in 2D or 3D, and it’s not tied to one manufacturer. The free version lets you create floor plans and visualize layouts, though high-res renders and some advanced features require a paid subscription. It’s good for comparing multiple layout ideas without committing to a specific product line.
Planner 5D is another solid free option with a big library of furniture, appliances, and finishes. The interface is intuitive, and you can export floor plans as PDFs. The free tier includes watermarks on renders, but for planning purposes that doesn’t matter.
For inspiration and real-world examples, browsing design galleries can help refine your vision before jumping into software. Similarly, exploring interior design ideas from completed projects gives you a sense of what works in actual homes, not just renderings.
SketchUp Free (the web version) is overkill for most DIYers, but if you’re comfortable with CAD-style tools or plan to design custom cabinets, it’s worth the learning curve. There’s a big community sharing kitchen models and tutorials.
Avoid tools that require an email just to start or push you toward a consultation before you’ve even placed a wall. You want software that lets you experiment freely.
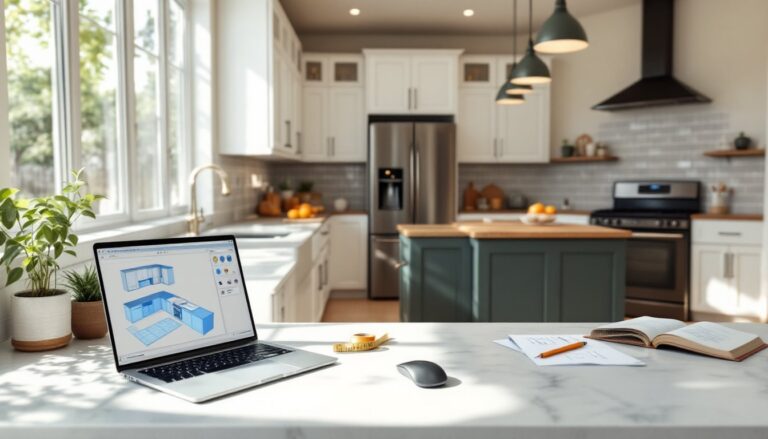
Step-by-Step Guide to Designing Your Kitchen Online
Measure Your Space Accurately
Everything starts with measurements, and “close enough” doesn’t cut it. Use a 25-foot tape measure (not a flimsy sewing tape), and write everything down. You need:
- Overall dimensions: Length and width of the room, measured at floor level. If the room isn’t square, measure at multiple points.
- Wall features: Mark windows (measure width, height, and distance from floor and adjacent walls), doors (note swing direction and clearance), and any permanent features like radiators or vents.
- Ceiling height: Important if you’re doing tall cabinets or planning a hood vent that needs ducting.
- Plumbing and electrical: Measure the location of water supply lines, drain stacks, gas lines, and existing outlets. Mark whether they’re centered on a wall or offset.
- Obstructions: Anything that eats into usable space, ductwork, structural beams, or awkward soffits.
Take photos of each wall, especially around existing plumbing and electrical. You’ll reference these constantly.
If your walls are more than ¼ inch out of square over an 8-foot span, note that. Most online tools assume perfect 90-degree corners, but real rooms rarely cooperate. You’ll need to account for that during installation.
Choose Your Layout and Cabinets
Start with the work triangle, the path between your sink, stove, and fridge. Ideally, the three legs of the triangle total between 13 and 26 feet, with no single leg shorter than 4 feet or longer than 9 feet. That’s not a hard rule, but it’s a tested guideline that keeps you from walking marathons or bumping into yourself.
Base cabinets are typically 24 inches deep and 34.5 inches tall (36 inches with countertop). Wall cabinets run 12 inches deep, with heights of 30, 36, or 42 inches depending on your ceiling and preference. When placing them in your design tool, leave 15–18 inches of clearance between the countertop and the bottom of wall cabinets, less feels cramped, more wastes storage.
Don’t forget corner solutions. Blind corner cabinets waste space unless you add a lazy Susan or pull-out organizer. L-shaped layouts often work better with a diagonal corner cabinet, but those cost more and eat into your run.
If you’re adding an island, you need 42–48 inches of clearance on all sides for traffic flow. Less than that and you’ll be doing the sideways shuffle every time someone’s at the sink. If your kitchen is under 120 square feet, an island probably won’t fit without killing the work triangle.
Place appliances next. Ranges and cooktops need 15 inches of counter space on at least one side (preferably both). The dishwasher should be within a step of the sink, ideally on the side of your dominant hand. Refrigerators need door swing clearance: measure the full arc, not just the open width.
Use your design tool’s cabinet catalog, but double-check dimensions. Some platforms list nominal sizes: others list actual. A “30-inch” cabinet might be 30 inches wide or it might be 29.5 inches to leave room for filler strips.
Common Mistakes to Avoid When Designing Online
The biggest mistake is designing without verifying that your layout meets current building codes. For example, the IRC (International Residential Code) requires a GFCI-protected outlet every 4 feet along countertops, and at least two 20-amp circuits dedicated to countertop appliances. Your design tool won’t flag that.
Another common error: ignoring appliance depth. Standard refrigerators stick out 6–8 inches past base cabinets, which makes your layout look clunky if you don’t plan for it. Counter-depth models sit flush but cost more and have less capacity. Don’t assume your 3D render is showing the real appliance depth, double-check the manufacturer specs.
Skipping filler strips is a rookie move. You almost always need narrow filler pieces (3–6 inches) to make cabinets fit walls that aren’t perfectly straight or to create clearance around appliances. Most design software doesn’t auto-generate fillers, so your plan might look seamless on screen but be impossible to install.
People also underestimate the importance of landing space. You need at least 15 inches of counter next to the cooktop for hot pots and 15 inches on the latch side of the fridge so you have somewhere to set down what you just grabbed. Online tools let you jam cabinets tight, but the result is a kitchen that’s annoying to cook in.
Don’t forget about ventilation. If you’re moving a range or adding a cooktop, check if your hood vent needs to duct outside or if a recirculating model is acceptable. Ducted range hoods move 300+ CFM and require makeup air in some jurisdictions, something you won’t realize until the inspector shows up.
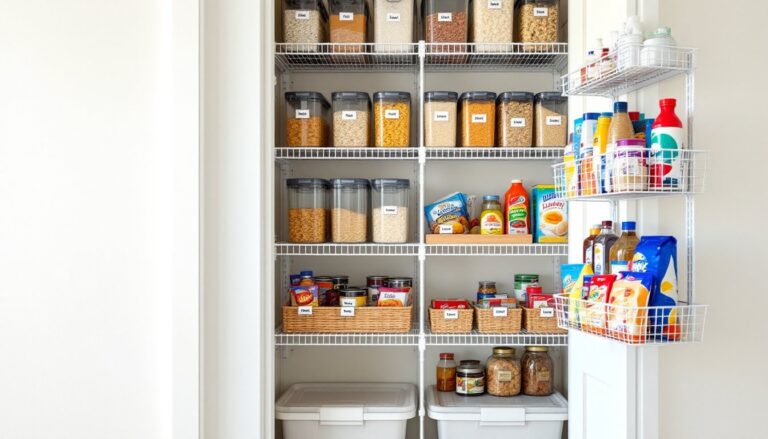
Finally, many DIYers design without accounting for material lead times. Custom cabinets can take 8–12 weeks: even stock cabinets from big-box stores might be backordered. As you discover current small kitchen solutions and organization tips, think about the practical timeline. Don’t finalize your plan and then discover your countertop slab won’t arrive for two months, leaving your kitchen half-demolished.
If you’re tackling broader home updates, pairing your kitchen redesign with insights from interior design trends tools can help ensure your choices feel cohesive and current.
Conclusion
Designing a kitchen online is faster and cheaper than trial-and-error with lumber and drywall. Use accurate measurements, test multiple layouts, and don’t skip the details that make a kitchen functional, clearances, landing zones, and code compliance. A solid digital plan turns a stressful renovation into a manageable project.