
Table of Contents
ToggleDesigning your own kitchen isn’t just about picking pretty cabinets and hoping for the best. It’s a technical puzzle where form meets function, where the distance between your sink and stove matters as much as the color of your backsplash. Whether you’re gutting a 1970s galley or reimagining a builder-grade rectangle, the principles remain the same: understand how you cook, respect the work triangle, and make every square foot earn its keep. This guide walks through the actual decisions you’ll face, not the Instagram fantasy version, but the real choices about cabinet depths, outlet placement, and whether that island will make your kitchen work better or just look good in photos.
Key Takeaways
- Designing your own kitchen starts with assessing real cooking habits, storage needs, and traffic patterns—not aspirational Pinterest fantasies.
- The work triangle (distance between sink, stove, and refrigerator) should total 13–26 feet with no single leg exceeding 9 feet for optimal functionality.
- Cabinets consume 40–50% of your kitchen budget; invest in plywood construction with soft-close hinges and quality joinery for longevity over quick fixes.
- Layered lighting with under-cabinet LEDs, recessed cans, and task lighting is non-negotiable to eliminate shadows and improve usability.
- Plan appliance placement before finalizing your layout, since ranges, refrigerators, and dishwashers lock you into specific cabinet dimensions and electrical requirements.
- Major structural work like moving gas lines, altering load-bearing walls, or significant electrical modifications requires permits and licensed professionals—don’t DIY these elements.
Assess Your Kitchen Needs and Lifestyle
Before you pin a single image or pick a paint chip, spend a week watching how you actually use your kitchen. Do you meal-prep on Sundays? Host dinner parties? Survive on takeout and coffee? Your honest habits, not aspirational ones, should drive every design decision.
Track your cooking patterns. Notice where bottlenecks happen. If you’re constantly shuttling between the fridge and the island with armloads of groceries, your layout has a storage problem. If two people can’t work simultaneously without colliding, you need better traffic flow. Write down pain points as they occur, that’s your real project brief.
Count your stuff. Open every cabinet and drawer. How many pots do you own? Sheet pans? Small appliances that actually get used versus the bread maker collecting dust? Measure your largest items, stockpots, stand mixers, baking sheets, because standard 18-inch-deep base cabinets won’t accommodate oversized cookware without custom solutions.
Consider who else uses the space. Multiple cooks need wider aisles (48 inches minimum between opposing counters) and dedicated work zones. Kids doing assignments at the island require task lighting and accessible snack storage. Mobility issues? Plan for 34-inch-high counters in work zones and consider pull-out shelves instead of deep cabinets.
Safety first: If your assessment reveals electrical outlets near the sink that aren’t GFCI-protected, note that for later, it’s a code requirement under the National Electrical Code (NEC) and likely needs addressing during any renovation.
Plan Your Kitchen Layout for Maximum Functionality
Layout trumps aesthetics every time. A beautiful kitchen that makes you walk fifteen extra steps per meal will frustrate you daily. Start with the work triangle, the path between sink, stove, and refrigerator should total between 13 and 26 feet with no single leg longer than 9 feet.
Five standard layouts to consider:
- Galley: Two parallel counters, ideal for small spaces. Efficient for solo cooks but cramped for multiple users. Keep the aisle 42-48 inches wide.
- L-shaped: Counters along two perpendicular walls. Opens the room, accommodates an island, works well for open floor plans.
- U-shaped: Three walls of cabinets. Maximum storage and counter space, but can feel closed-in. Requires at least 8×8 feet to function.
- Island: Adds prep space and seating. Needs 36-42 inches clearance on all sides for traffic. Plumbing and electrical in an island complicate things, budget for it.
- Peninsula: An island attached to one wall or cabinet run. Saves space, avoids island plumbing headaches.
Map your zones. Separate prep (cutting boards, knives, mixing bowls near counter space), cooking (pots, oils, utensils within arm’s reach of the range), and cleaning (dish soap, towels, trash near the sink). Professional designers use interior design trends tools to visualize these arrangements digitally before committing.
Landing spaces matter. The International Residential Code (IRC) doesn’t mandate this, but best practice calls for 15 inches of counter on the latch side of the refrigerator and on at least one side of the cooktop. You need somewhere to set down a hot pan or a gallon of milk.
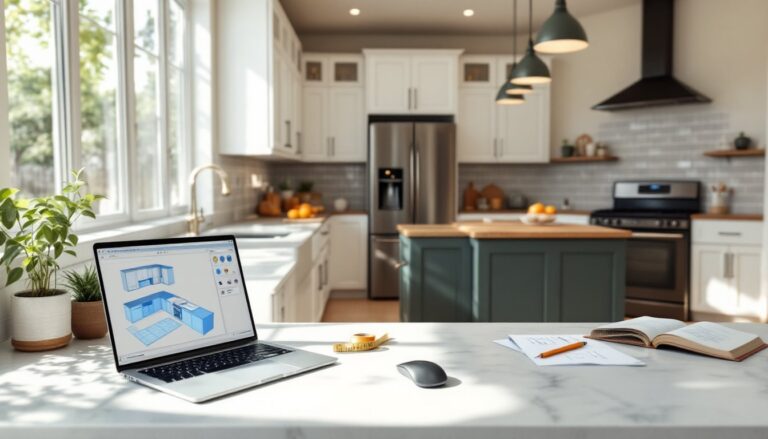
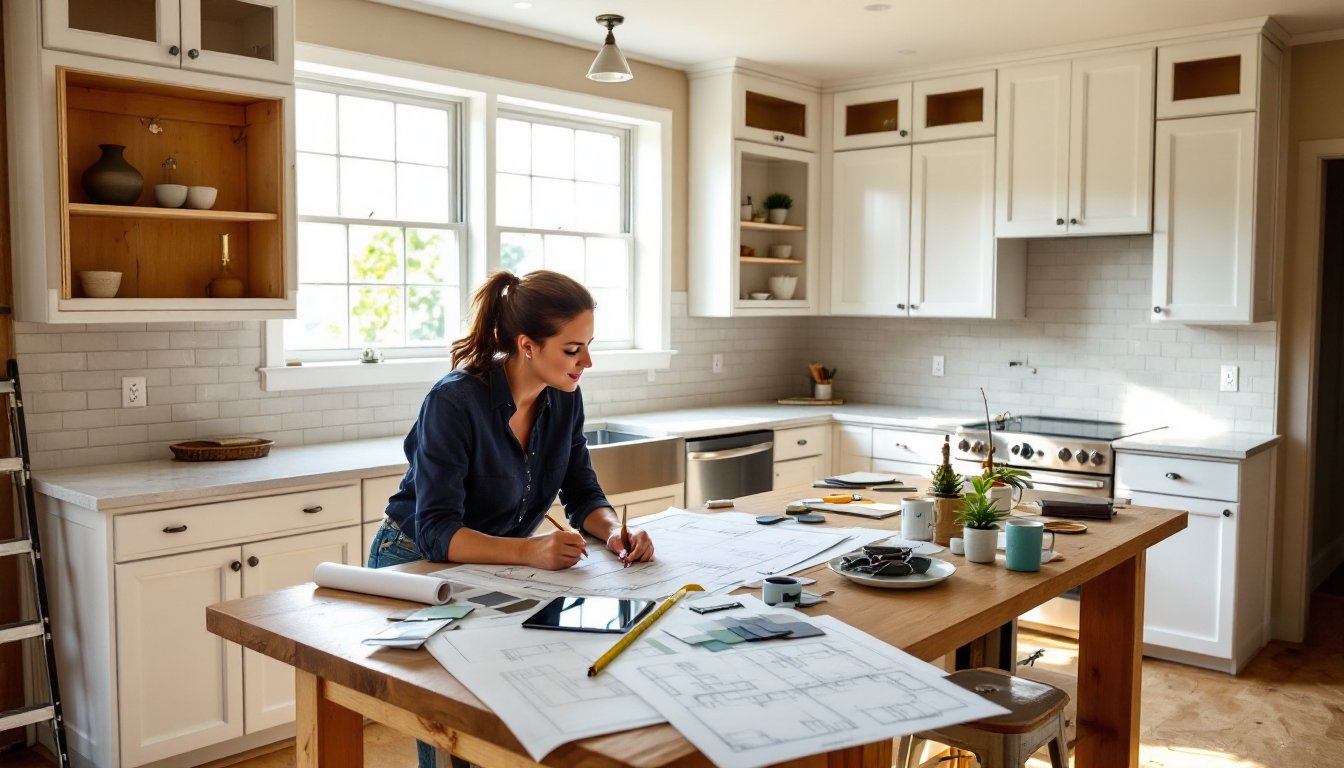
Draw it to scale. Graph paper works, or use free software. Include accurate measurements, nominal 2×4 walls are actually 3.5 inches thick, which matters when you’re planning tight corners. Locate existing plumbing stacks and gas lines: moving them costs serious money.
Choose Your Kitchen Style and Color Palette
Style isn’t just about trends, it’s about cohesion with the rest of your home and materials that age well. A farmhouse kitchen in a mid-century modern ranch will always look bolted-on.
Match your home’s bones. Traditional homes with crown molding and panel doors call for raised-panel cabinets and classic hardware. Contemporary builds with clean lines suit flat-panel (slab) doors and minimal ornamentation. Transitional styles split the difference with simple Shaker doors that work almost anywhere.
Pick a color strategy. All-white kitchens show every fingerprint and require serious commitment to cleaning. Dark cabinets shrink small spaces but hide wear. Two-tone kitchens, darker lowers, lighter uppers, add depth without going full moody. Test paint samples on 2×2-foot foam boards and move them around the room at different times of day. North-facing kitchens skew cool and gray: south-facing ones can handle deeper colors.
Consider material lifespans. Painted cabinets will need touch-ups within five years in a busy kitchen. Stained wood shows water damage less but limits color changes later. Thermofoil cabinets (vinyl-wrapped MDF) are budget-friendly but will peel near heat sources. Solid wood or plywood boxes with hardwood face frames last decades.
Sites like Houzz offer thousands of photos filtered by style, but use them to identify what you like, not to copy verbatim, your space has different proportions and light.
Select Cabinets, Countertops, and Storage Solutions
Cabinets eat 40-50% of a typical kitchen budget, so get this right. Stock cabinets come in 3-inch increments and ship fast but offer limited configurations. Semi-custom allows more sizing, door styles, and organizational add-ons. Custom cabinets fit awkward spaces perfectly but double the cost and timeline.
Box construction matters. 3/4-inch plywood boxes with dovetail or doweled joints outlast particleboard boxes with stapled corners. Full-overlay doors (where doors cover the face frame) look more modern: partial-overlay is traditional. Soft-close hinges and drawer glides aren’t optional, they’re the difference between cabinets that last 20 years and ones that rattle apart in ten.
Countertops: the tradeoffs
- Granite: Durable, heat-resistant, requires periodic sealing. $50-$200/sq ft installed, depending on grade and edge profile.
- Quartz: Engineered stone, non-porous, consistent patterns, can’t take hot pans directly. $60-$150/sq ft.
- Butcher block: Warm, repairable, needs oiling, can’t stay wet. $40-$100/sq ft.
- Laminate: Budget-friendly, endless patterns, can’t be repaired if chipped. $20-$50/sq ft.
- Solid surface (Corian): Seamless, repairable, shows scratches more than stone. $50-$100/sq ft.
Standard countertop depth is 25 inches for base cabinets (24-inch-deep box plus 1-inch overhang). Bar-height counters should be 42 inches high with 15 inches of knee space underneath for seating. The best designs incorporate modern kitchen solutions that balance durability with aesthetics.
Maximize storage. Pull-out trash bins, lazy Susans in corner cabinets, and deep drawers for pots beat traditional shelves. Drawer base cabinets cost more than door bases but improve access dramatically. Plan at least one 12-18 inch pantry cabinet if you don’t have a walk-in pantry.
Pick Appliances That Match Your Cooking Habits
Appliances lock you into specific cabinet dimensions, so select them before finalizing the layout. Measure rough openings carefully, a 30-inch range usually needs a 30-inch cabinet opening, but some models require 30.25 inches.
Ranges vs. cooktops and wall ovens. A slide-in range (30 or 36 inches wide) is the most affordable and space-efficient option. Separating the cooktop and wall oven costs more but puts the oven at a comfortable height and frees up base cabinet space. Gas offers instant heat control: electric (especially induction) is more energy-efficient and easier to clean.
Ventilation isn’t optional. Cooking produces moisture, grease, and combustion byproducts. A range hood should move 100 CFM per linear foot of cooktop width, minimum. Ducted hoods that vent outside work better than recirculating models with charcoal filters. If you’re adding or upsizing a hood, verify your existing duct size, 6-inch round or 3.25×10-inch rectangular duct is standard.
Refrigerator configurations. Counter-depth models sit flush with cabinets but sacrifice 4-6 inches of interior space. Standard-depth fridges protrude but cost less and hold more. French-door styles with bottom freezers are popular but require clearance for wide doors. Measure your current fridge’s cubic footage and buy at least that much unless you’re downsizing intentionally.
Dishwashers need 24-inch-wide openings and a dedicated 20-amp circuit. If you’re adding one where none existed, you’ll need to run water supply, drain line, and electrical, not a trivial DIY project. The best kitchen appliance recommendations factor in both performance and repairability.
Don’t forget the small stuff. Microwave placement is contentious, over the range saves counter space but requires reaching over hot burners. Built-in models look cleaner but cost three times more than countertop versions.
Add Lighting, Fixtures, and Finishing Touches
Lighting makes or breaks a kitchen. One ceiling fixture in the center of the room creates shadows exactly where you’re working. Layer three types: ambient (general overhead), task (focused on work surfaces), and accent (decorative or highlighting features).
Under-cabinet lighting is non-negotiable. LED tape or puck lights installed toward the front of the cabinet eliminate shadows on the counter. Hardwired beats plug-in for a clean look, but requires running cable inside walls, plan this before drywall goes up. Dimmable LEDs let you dial down brightness for evening ambiance.
Recessed cans provide ambient light. Space them 4-6 feet apart in a grid pattern, avoiding placement directly over where you’ll stand (which puts you in your own shadow). In new construction, use IC-rated, airtight cans to meet energy codes.
Pendants over islands add style and task light. Hang them 30-36 inches above the counter so they don’t block sightlines but still light the surface. If your island is longer than 6 feet, use three pendants instead of two for balanced coverage.
Sink and faucet specs. Undermount sinks look sleaner but require stone or solid-surface counters for support. Top-mount (drop-in) sinks work with any counter material. 8-10 inch deep single-bowl sinks accommodate large pots better than double-bowl configurations. Choose a faucet with a pulldown or pullout sprayer for filling pots and rinsing produce. If your water pressure is weak, skip the fancy rainfall-style faucet, it’ll dribble.
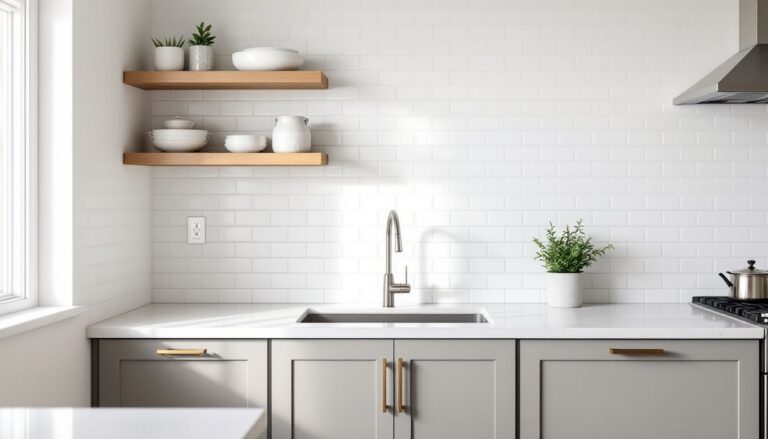
Backsplash height: Standard is 18 inches above the counter, but full-height (to the bottom of upper cabinets or the ceiling) eliminates a grout line and looks more custom. Ceramic or porcelain tile in 3×6 subway or 12×12 field tiles balances cost and aesthetics. Glass tile looks sharp but shows water spots.
PPE reminder: Installing lighting requires working with live electrical circuits. Shut off power at the breaker, use a voltage tester, and wear rubber-soled shoes and safety glasses.
Conclusion
Designing your own kitchen demands more measuring tape than mood board, but the payoff is a space that actually works for how you live. Get the layout right, invest in durable materials where they matter, and don’t cheap out on lighting or ventilation. If the project involves moving gas lines, altering load-bearing walls, or major electrical work, pull permits and hire licensed pros, it’s not the place to learn on the job. Everything else? Take it one decision at a time.