
Table of Contents
ToggleGalley kitchens get a bad rap. Sure, they’re narrow, and you can’t fit a crowd in there, but they’re also some of the most efficient layouts you can build. Two parallel counters, everything within arm’s reach, minimal wasted steps between sink, stove, and fridge. The trick isn’t fighting the footprint: it’s working with it. A well-designed galley kitchen can outperform a sprawling L-shape any day, especially if you’re short on square footage. Here’s how to make yours not just functional, but genuinely pleasant to work in.
Key Takeaways
- Galley kitchen design maximizes efficiency by collapsing the work triangle into a single line, minimizing steps between sink, stove, and refrigerator.
- Light colors, reflective surfaces, and strategic under-cabinet LED lighting prevent galley kitchens from feeling cramped and enhance visual flow.
- Position the refrigerator at one end and the cooktop opposite the sink to separate wet and heat tasks while maintaining optimal counter landing zones.
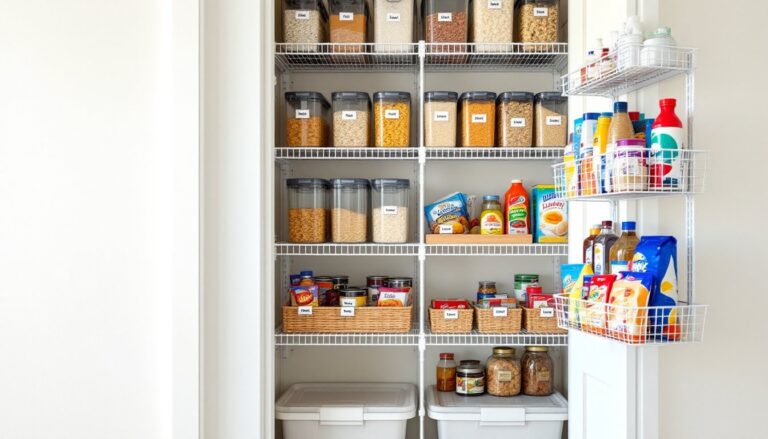
- Pull-out shelves, tall pantry cabinets, and vertical storage solutions are essential for maximizing dead space in compact galley kitchens.
- Running flooring lengthwise and using large-format tiles with minimal grout lines create continuity and make the galley feel longer and more open.
- Choosing right-sized appliances—like 24-inch ranges, counter-depth fridges, or 18-inch dishwashers—preserves precious counter and walkway space.
What Makes Galley Kitchens Efficient (and How to Enhance Them)
Galley kitchens, also called corridor kitchens, follow a simple two-wall layout. You’ve got parallel runs of cabinets and counters, typically separated by a walkway of 40 to 48 inches. Anything narrower feels cramped: much wider and you lose the efficiency.
The layout naturally creates a tight work triangle (the path between sink, stove, and refrigerator). In a galley, that triangle collapses into a line, which means fewer steps and less back-and-forth. Commercial kitchens use galley layouts for exactly this reason.
But efficiency comes with trade-offs. You don’t get room for an island, seating is tricky, and if the galley is a pass-through (doorways on both ends), traffic becomes a problem. If your galley is a pass-through, consider closing off one end if structurally feasible. That eliminates through-traffic and gives you a solid wall for tall pantry cabinets or appliances.
If closing an end isn’t an option, keep the walkway clear and anchor heavy-use zones, like the cooktop and primary prep counter, on one side. That way, someone passing through won’t interrupt your workflow.
Strategic Layout and Work Triangle Optimization
In a galley, your work triangle isn’t a triangle, it’s a corridor. The goal is to minimize steps and avoid bottlenecks.
Place the sink on one wall, ideally centered or slightly offset. Most plumbing stacks run along exterior walls or near bathrooms, so you may not have much flexibility here. If you’re doing a gut renovation and the plumbing allows it, position the sink opposite the range. That keeps wet tasks (washing, draining) separate from heat.
The refrigerator should go at one end of the galley, not in the middle. Putting it mid-run breaks up your counter space and creates a pinch point. An end placement also makes it accessible without someone needing to enter your work zone.
Cooktop or range goes on the opposite wall from the sink, or at the far end. Leave at least 15 inches of counter space on one side for landing hot pots. If you’re tight on space, a 30-inch range is standard, but a 24-inch apartment-size range opens up more counter area.
Avoid placing the dishwasher more than a step or two from the sink. Ideally, it goes directly adjacent, within 36 inches, so you’re not dripping water across the floor. Right-side placement (if you’re right-handed) makes loading easier, but it’s not a deal-breaker.
Counter landing zones matter more in a galley than anywhere else. You don’t have an island to dump groceries or stage ingredients, so every inch of counter is prime real estate. Aim for at least 15 inches of prep space between your sink and cooktop.
Color Schemes and Lighting Tricks to Open Up Your Galley Kitchen
A narrow kitchen can feel like a tunnel if you don’t manage the visual weight. Light colors, reflective surfaces, and smart lighting make a huge difference.
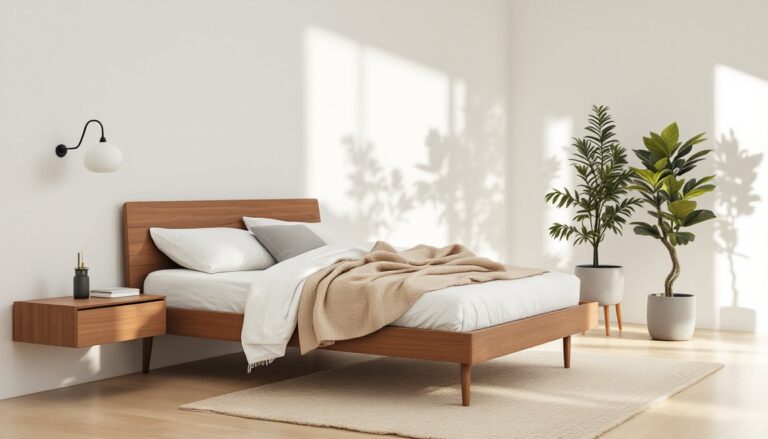
Upper cabinets: Go with white, off-white, or light gray. If you want contrast, keep the uppers light and go darker on the lowers. Avoid dark uppers, they close in the ceiling and make the space feel compressed. If your ceilings are 9 feet or higher, consider running cabinets to the soffit or ceiling. The vertical lines draw the eye up and add storage.
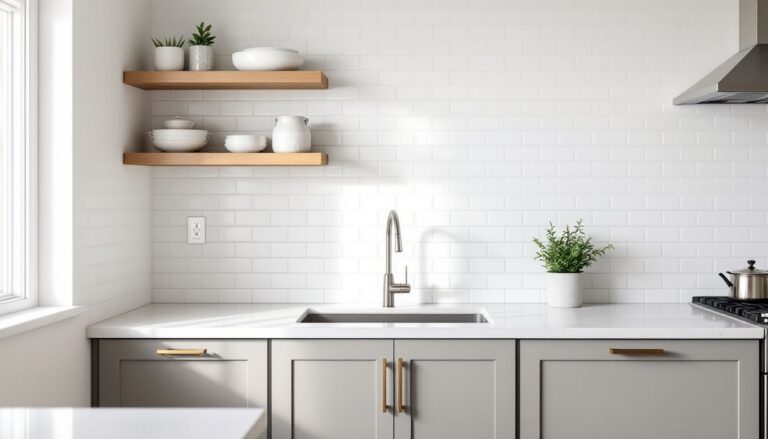
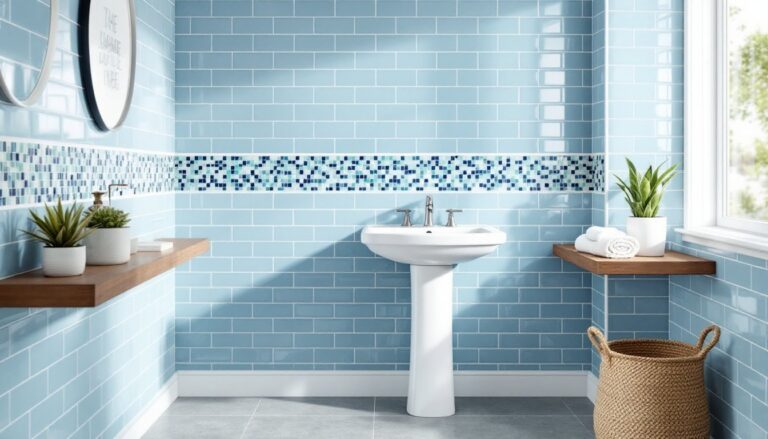
Paint or backsplash: A continuous backsplash in light tile or glass creates flow. Subway tile (3×6 inches) is a safe bet: running it horizontally emphasizes width, while a vertical stack bond adds height. If you use a bold color, limit it to one accent wall at the far end, it creates depth without overwhelming the space.
Lighting: Task lighting is non-negotiable. Install under-cabinet LED strips along both walls. They eliminate shadows on the counter and make prep work easier. For general lighting, recessed cans spaced every 4 feet work well. If you have room for a pendant or two, hang them over the end of the counter, not mid-galley where they’ll interfere with sightlines.
Natural light helps, but many galleys lack windows. If you have one, keep window treatments minimal, a simple roller shade or no treatment at all. If you’re installing a window during a remodel, consider a transom or clerestory window above the cabinets. It brings in light without sacrificing wall cabinet space.
Clever Storage Solutions for Compact Galley Spaces
In a galley, dead space is your enemy. Every cabinet, drawer, and vertical inch needs to work.
Pull-out shelves and drawers: Base cabinets with fixed shelves are a waste in a narrow kitchen. Install roll-out trays or convert to deep drawers. You can access the back of the cabinet without crawling in. For pots and pans, a single deep drawer (12 to 15 inches) with dividers beats a traditional cabinet.
Tall cabinets: If you have the ceiling height, run a pantry cabinet (18 to 24 inches deep, 84 to 96 inches tall) at one end. Use pull-out shelves or lazy Susans inside. A tall cabinet holds more than a traditional wall cabinet and keeps dry goods organized.
Open shelving: One or two open shelves can work in place of upper cabinets, especially near the end of the galley. They don’t visually block the space, and they’re great for everyday dishes or cookbooks. But don’t overdo it, too much open storage looks cluttered.
Toe-kick drawers: These shallow drawers (about 4 inches tall) fit below your base cabinets and are perfect for baking sheets, cutting boards, or flat lids. They’re easy to retrofit if you’re upgrading cabinets.
Wall-mounted racks and magnetic strips: Use the inside of cabinet doors for measuring cups, pot lids, or spices. A magnetic knife strip keeps blades accessible without taking up drawer or counter space. If wall space allows, mount a pot rack or utensil rail above the counter.
Skip bulky appliances on the counter. A toaster oven or stand mixer can eat up half your prep area. Store them in a base cabinet with a pull-out shelf, or dedicate a section of counter near an outlet as a permanent appliance garage.
Flooring, Backsplash, and Material Choices That Create Visual Flow
Materials matter in a galley. The wrong choices chop up the space: the right ones create continuity.
Flooring: Run the flooring lengthwise down the galley. That emphasizes the corridor and makes it feel longer. Avoid patterns that run perpendicular, they visually shorten the space. Luxury vinyl plank (LVP) in a light or medium wood tone is durable, affordable, and DIY-friendly. If you’re doing tile, use large-format tiles (12×24 inches or bigger) with minimal grout lines. Small mosaics create visual noise.
Countertops: Quartz, granite, or solid-surface materials all work. Stick with consistent countertops on both sides, don’t mix materials or colors unless you’re intentionally zoning the space. If you’re on a budget, laminate has come a long way. Brands like Wilsonart and Formica offer realistic stone patterns at a fraction of the cost.
Backsplash: Keep it simple. A continuous backsplash from counter to upper cabinets creates a clean line. Glass tile reflects light better than ceramic. If you want texture, go with a matte or textured finish on light-colored tile, it hides splashes better than high-gloss. For a streamlined look, run the backsplash material all the way to the ceiling on one accent wall, or behind open shelving.
Cabinet hardware: In tight spaces, hardware choice affects function. Long pulls (5 to 6 inches) on drawers and simple knobs on doors are easy to grab. Avoid ornate or oversized hardware, it catches on clothing and looks fussy. If you want a modern look, consider handleless cabinets with push-to-open mechanisms, though they show fingerprints.
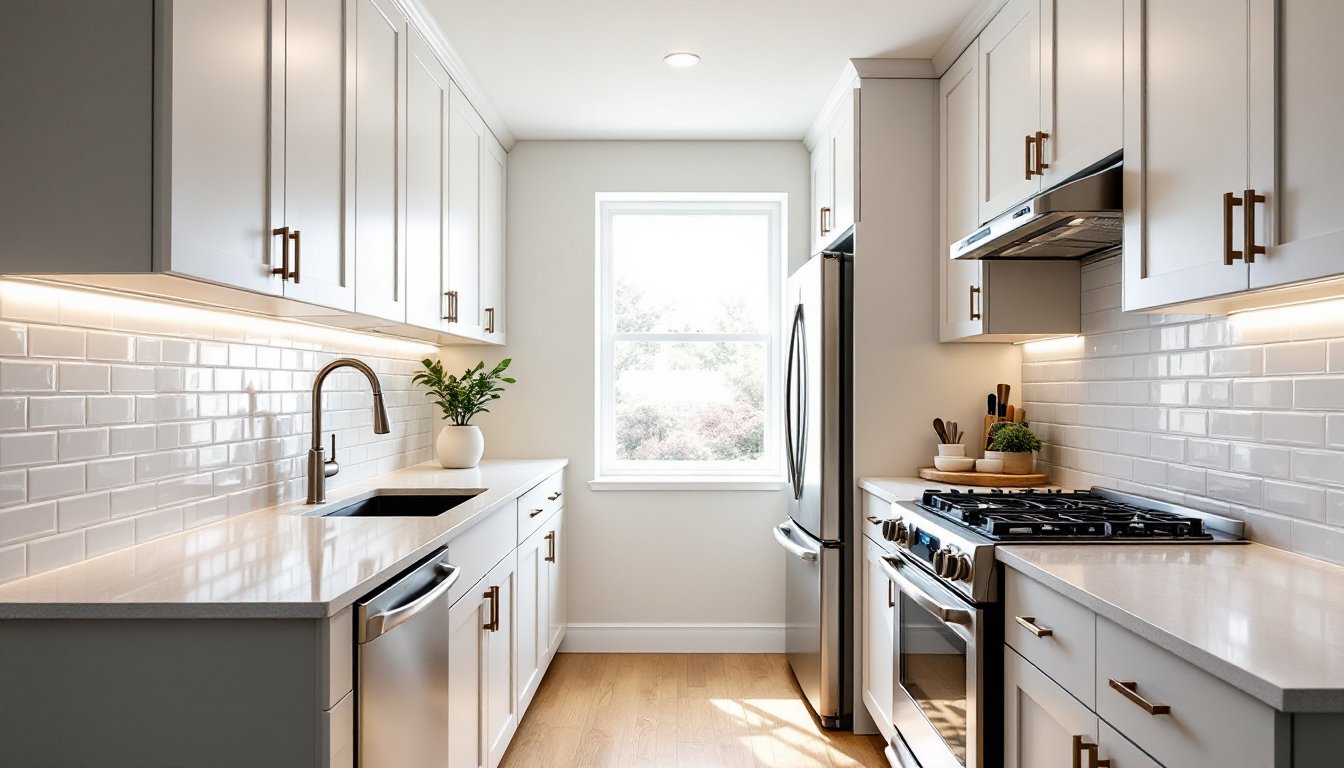
If you’re sourcing design inspiration, modern galley kitchen layouts often feature a mix of open shelving and minimal hardware for a streamlined effect.
Appliance Selection and Placement for Narrow Kitchens
Standard appliances take up serious real estate in a galley. Choosing the right sizes and features makes or breaks your layout.
Refrigerator: A standard fridge is 30 to 36 inches wide. In a tight galley, consider a counter-depth model, it sits flush with cabinets and doesn’t jut into the walkway. If you can get by with less capacity, a 24 or 27-inch fridge opens up room for more cabinetry. Bottom-freezer or French-door models keep the most-used section at eye level.
Range or cooktop: A 30-inch range is standard, but a 24-inch model saves space. If you rarely cook large meals, it’s enough. Alternatively, separate the cooktop and wall oven. A 30-inch cooktop drops into the counter, and a 24-inch single wall oven mounts at eye level in a tall cabinet. That setup eliminates bending and frees up base cabinet space.
Dishwasher: An 18-inch dishwasher fits in spaces where a 24-inch won’t. They’re common in European kitchens and available from Bosch, Miele, and others. Capacity is smaller, but if it’s just two people, it’s plenty. Place it next to the sink, ideally on the side you naturally turn toward after rinsing.
Ventilation: A range hood is code in most jurisdictions (check your local requirements). In a galley, a low-profile hood or even an under-cabinet microwave with exhaust can work. If you have the height, a chimney-style hood vented to the exterior is more effective than a recirculating model, especially for gas cooktops. Ducted hoods should exhaust at least 300 CFM for a 30-inch range.
Microwave: Don’t put it on the counter. Mount it above the range (if it’s a microwave-hood combo), or build it into a tall cabinet or wall cabinet stack. Over-the-range models are the most common space-saver in galleys.
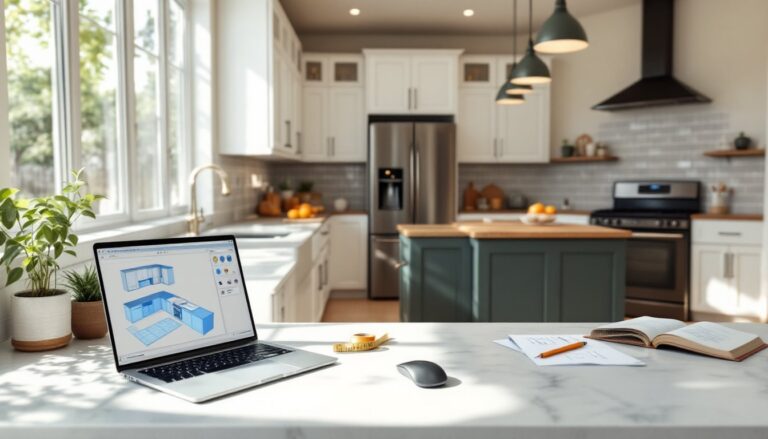
When planning appliances, mock up the layout with painter’s tape on the floor. Walk through your workflow, loading groceries, prepping a meal, cleaning up. You’ll catch clearance issues before you order cabinets. For more on appliance layout and small kitchen organization, many design resources emphasize the importance of testing your workflow in three dimensions, not just on paper.
Conclusion
A galley kitchen won’t give you an open-concept showroom, but it doesn’t need to. With tight planning, smart storage, and materials that enhance rather than fight the footprint, a galley can be one of the most practical kitchens you’ll ever work in. Measure twice, plan your work triangle, invest in good lighting, and don’t be afraid to go vertical. The narrow corridor layout isn’t a compromise, it’s an opportunity to build a kitchen that works exactly how you need it to.