
Table of Contents
ToggleRedesigning a master bathroom isn’t just about replacing dated fixtures, it’s about creating a space that balances function with genuine comfort. Whether you’re tackling a full gut renovation or refreshing what’s already there, the right design choices can dramatically improve your daily routine. This guide walks through practical design strategies that work in real bathrooms, covering everything from lighting and storage to finishes and fixtures. No vague inspiration, just actionable ideas that fit real budgets, real timelines, and real building constraints.
Key Takeaways
- Master bathroom design ideas should prioritize layered lighting—combining ambient, task, and accent lights—along with soft, neutral colors to create both function and spa-like comfort.
- Built-in storage solutions like recessed medicine cabinets, floating vanities, and drawer stacks with soft-close hardware maximize floor space and reduce moisture-related damage better than freestanding furniture.
- Quartz countertops remain the best choice for durability and low maintenance, while undermount sinks and appropriately sized vanities (24–48 inches for single, 60–72 inches for double) improve daily usability.
- Curbless walk-in showers require professional waterproofing installation and proper floor sloping to prevent water damage; frameless glass enclosures offer a modern aesthetic but cost $1,000–$3,000 installed.
- Large-format porcelain tiles, proper substrate preparation with cement or foam board, and radiant floor heating systems add both style and comfort while ensuring long-term durability in wet zones.
- Cohesive hardware finishes, well-anchored accessories mounted into studs, and quality faucets with ceramic disc valves create polished final touches that define the bathroom’s overall design personality.
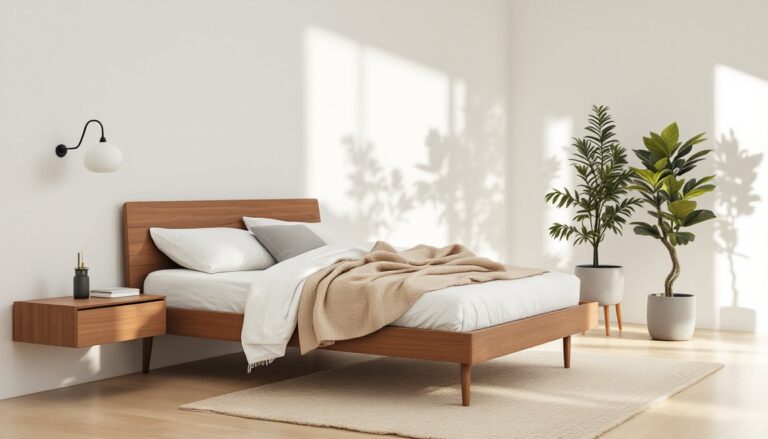
Creating a Spa-Like Atmosphere with Strategic Lighting and Colors
Layered lighting is the foundation of a functional, comfortable bathroom. A single overhead fixture doesn’t cut it. Combine ambient lighting (recessed cans or a flush-mount ceiling fixture), task lighting (sconces flanking the mirror at eye level, roughly 60–66 inches off the floor), and accent lighting (under-cabinet strips or LED tape for toe kicks). All bathroom lighting should be rated for damp or wet locations per NEC Article 410, especially within Zone 0 (inside the shower) and Zone 1 (directly above the tub or shower).
For color, soft neutrals, grays, warm whites, greiges, and muted blues, create a calming backdrop. Paint with a satin or semi-gloss finish for moisture resistance and easier cleaning. If you’re set on darker tones, balance them with ample light and reflective surfaces like large mirrors or glass shower enclosures. Current interior design trends lean toward natural palettes paired with organic textures, which translate beautifully to bathrooms.
Dimmers on every circuit give you control, bright light for grooming, softer ambiance for evening baths. Install GFCI-protected circuits for all outlets and fixtures within six feet of water sources. If you’re not comfortable working with electrical, hire a licensed electrician. Permit requirements vary by jurisdiction, but electrical work almost always requires one.
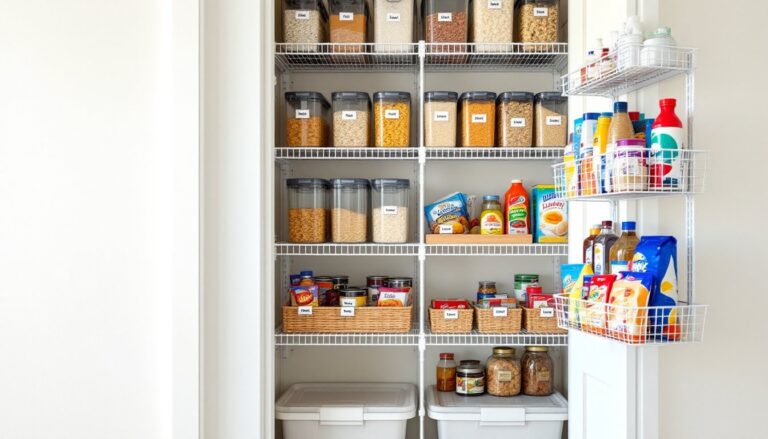
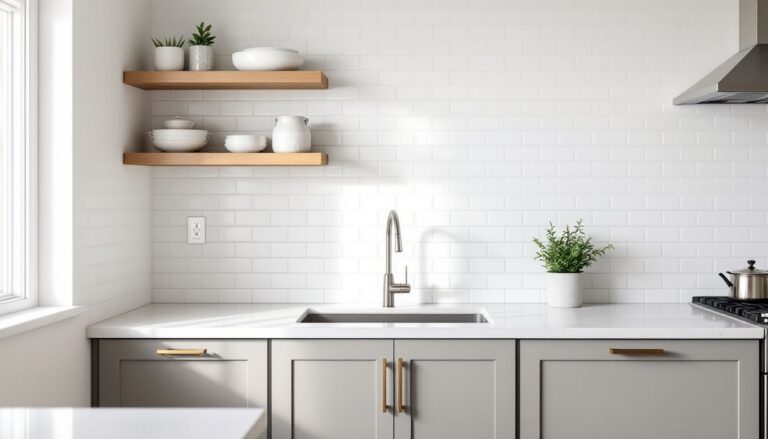
Maximizing Space with Smart Storage Solutions
Built-in storage beats freestanding furniture for moisture management and floor space. A recessed medicine cabinet carved into the wall between studs (typically 14.5 inches wide for 16-inch on-center framing, 22.5 inches for 24-inch centers) keeps toiletries out of sight without eating into the room. If you’re opening walls, add recessed niches in the shower, tile them to match or contrast, and keep them above waist height to avoid water pooling.
For vanities, drawer stacks with soft-close hardware are more functional than single shelves behind doors. Include a drawer with outlets inside for hair tools, keeps cords off the counter. If space allows, a floor-to-ceiling linen tower (12–18 inches deep) flanking the vanity or tucked into a corner provides serious storage without custom cabinetry costs.
Floating vanities open up floor space visually and make cleaning easier, but they require solid blocking between studs during framing or a retrofit with toggle bolts rated for the load. If the existing wall is just drywall over metal studs, you’ll need to add wood nailers. Don’t skip this, water damage and weight can pull an improperly mounted vanity right off the wall.
Overhead storage like open shelving works if you’re disciplined about what goes on display. Otherwise, closed cabinets keep clutter and humidity-damaged items hidden. Use marine-grade plywood or moisture-resistant MDF for any custom cabinetry, standard particleboard will swell and fail in a bathroom.
Choosing the Perfect Vanity and Countertop Combination
Vanity sizing depends on layout and user count. A single-sink vanity typically runs 24–48 inches wide: double-sink configurations need at least 60 inches, ideally 72 inches, to give each user elbow room. Standard height is 32–36 inches, but comfort height vanities (36 inches) are increasingly common and reduce back strain.
For countertops, quartz dominates for good reason: non-porous, low-maintenance, and available in endless colors. It’s engineered, so it resists staining and doesn’t need sealing. Expect to pay $50–$120 per square foot installed, depending on brand and edge profile. Granite is comparable in cost but requires annual sealing. Solid surface (like Corian) is seamless and repairable but scratches more easily. Porcelain slabs are newer to the residential market, highly durable, and heat-resistant, but fabrication costs run high.
Avoid laminate or tile countertops in master baths, laminate edges peel with moisture exposure, and tile grout is a maintenance headache. If budget is tight, a cultured marble countertop with integrated bowl (one-piece) is durable and affordable, typically $300–$600 for a 49-inch single vanity top.
Undermount sinks give a cleaner look and make counter cleanup easier than drop-in models. For double vanities, using two separate single-bowl sinks instead of one wide trough gives each user more counter space. Make sure the vanity cabinet is plumbed correctly, if you’re relocating drains, that’s a bigger job involving subflooring access and potentially a plumber.
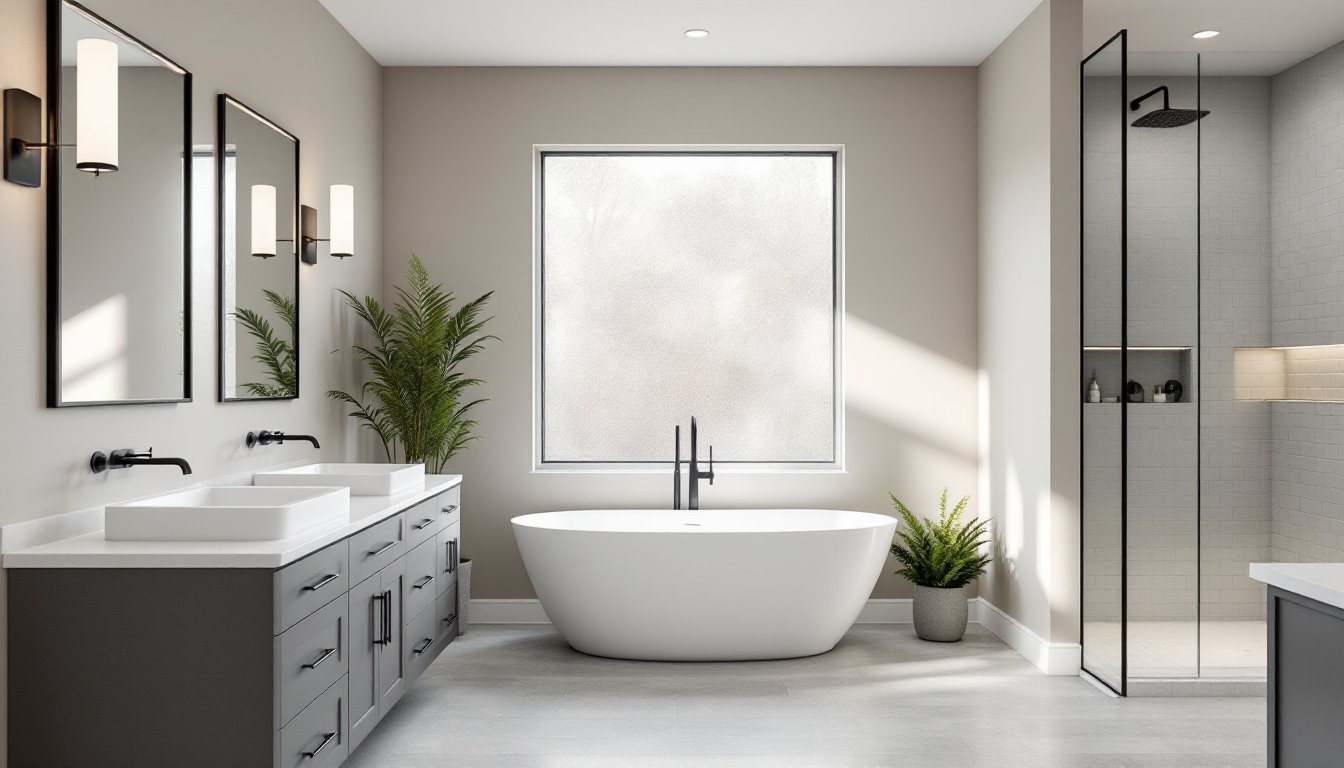
Shower and Bathtub Options for Every Style and Budget
Walk-in showers are the default for modern master baths. A true curbless (zero-threshold) shower requires careful floor prep, sloping the subfloor or using a linear drain system to prevent water escape. Most jurisdictions require a waterproof membrane (like Schluter KERDI or RedGard) under tile, and if you’re doing this yourself, follow manufacturer instructions precisely. One missed seam and you’ll have mold in the walls.
For enclosures, frameless glass (3/8-inch or 1/2-inch tempered) looks clean and modern but costs $1,000–$3,000 installed depending on size. Semi-frameless is a budget-friendly middle ground. Avoid prefab acrylic or fiberglass units if you want a custom look, tile or large-format porcelain panels give far more design flexibility.
Freestanding tubs are statement pieces but need floor reinforcement. A standard 60-gallon cast iron tub weighs around 300 pounds empty, 800+ pounds filled with water and a person. Check your joist span and spacing, if the existing structure doesn’t meet IRC load requirements (typically 40 pounds per square foot live load for residential floors), you’ll need to sister joists or add blocking. This isn’t a DIY diagnosis: bring in a structural engineer or contractor.
Alcove tubs (the standard 60×30-inch or 60×32-inch drop-in) are the most affordable and space-efficient. For a fresh look, minimalist fixtures and clean lines can make even a basic alcove tub feel intentional. If replacing an old unit, plan for drywall and tile repair around the flange.
Soaking tubs and jetted tubs require dedicated electrical circuits (GFCI-protected) and access panels for pump maintenance. Jetted tubs have fallen out of favor due to cleaning difficulty, water sits in the lines and can develop biofilm. If you inherit one, consider a standard soaking tub instead.
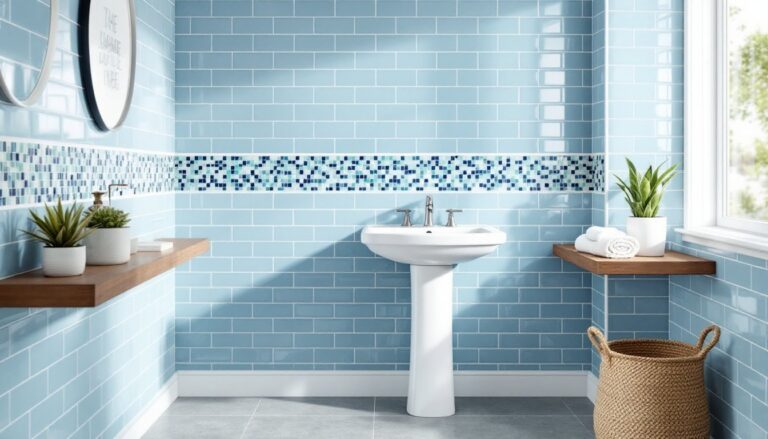
Flooring and Wall Treatments That Make a Statement
Porcelain or ceramic tile remains the go-to for bathroom floors. It’s waterproof, durable, and available in an enormous range of looks, wood-plank, stone, concrete, terrazzo. Large-format tiles (12×24 inches or bigger) mean fewer grout lines and a more seamless look. Use rectified edges (perfectly square) for tight grout joints.
For slip resistance, choose a tile with a COF (coefficient of friction) rating of 0.60 or higher for wet areas. Polished porcelain looks great but is dangerously slippery when wet. Matte or textured finishes are safer. If you’re set on stone, honed or flamed granite, slate, or travertine work, but all require sealing and ongoing maintenance.
Luxury vinyl plank (LVP) is gaining traction in bathrooms, 100% waterproof (if it’s true WPC or SPC core), comfortable underfoot, and easier to install than tile. Make sure the product is rated for wet areas and install it over a sound, level subfloor. Some jurisdictions and home improvement resources provide cost breakdowns to help you compare material and labor for various flooring types.
Radiant floor heating is a luxury worth considering if you’re already tearing up the floor. Electric mat systems (like Schluter DITRA-HEAT) run $10–$20 per square foot installed and add serious comfort. They need a dedicated circuit and a programmable thermostat.
For walls, large-format porcelain slabs (up to 5×10 feet) create a seamless, grout-minimal look but require pro installation, they’re heavy and prone to lippage if not set perfectly. Subway tile is timeless and DIY-friendly: just avoid dated layouts like all-white with dark grout or overly busy patterns. Horizontal stacking or vertical running bond feel more current than traditional offset brick.
In wet areas (shower walls), use cement board or a foam backer board (like KERDI-BOARD), never regular drywall or green board. Even moisture-resistant drywall will fail under constant water exposure.
Adding Personality with Fixtures, Hardware, and Finishing Touches
Faucets and showerheads set the tone. Finishes like matte black, brushed gold, brushed nickel, and polished nickel are all current, but pick one finish and carry it through all hardware, mixing metals intentionally is fine, but it should look deliberate, not random. For example, matte black faucets with brass cabinet pulls can work: chrome faucets with random oil-rubbed bronze hinges won’t.
Look for faucets with ceramic disc valves, they last longer and drip less than compression or cartridge types. Showerheads should comply with the EPA WaterSense standard (2.0 gallons per minute max), but you can still get excellent pressure with a well-designed head. Handheld wands on a slide bar add versatility for cleaning and accessibility.
Cabinet hardware is a low-cost, high-impact upgrade. Pulls and knobs in coordinating finish should be mounted consistently, centered on drawers, 1–2 inches from the top corner on doors. If you’re replacing old hardware and the new pieces don’t line up with existing holes, wood filler and touch-up paint hide the old holes before drilling new ones.
Mirrors should be proportional to the vanity, generally 70–80% of the vanity width, or two smaller mirrors over a double vanity. Backlit LED mirrors are practical and modern, but make sure the electrical is in place before drywall goes up. Surface-mount options exist but often look tacked on.
Accessories like towel bars, robe hooks, and toilet paper holders should be anchored into studs or solid blocking, especially towel bars (which take lateral force). Toggle bolts work for drywall but aren’t as bombproof. If you’re opening walls for other work, add blocking at standard accessory heights: 48 inches for towel bars, 60–65 inches for hooks, 26 inches (centerline) for TP holders.
Want a unique detail? Consider a statement light fixture, a custom mirror frame, or open shelving with decorative brackets. Real plants (pothos, ferns, orchids) thrive in bathroom humidity and add life, just make sure they get adequate light. If you’re integrating broader interior design ideas, choose accessories that reflect the overall style without overcrowding the space.
Conclusion
A well-designed master bathroom blends daily function with genuine comfort. Focus on durable materials, smart layout, and proper installation, skipping steps like waterproofing or structural support will cost far more to fix later. Prioritize what matters most to your routine, whether that’s a large shower, ample storage, or quality lighting, and build the design around those anchors. With clear planning and honest execution, a master bath becomes one of the most rewarding spaces to upgrade.